Introduction
In this guide, you will install the SQL database, which stores all operational and historical data for your System Frontier instance.
System Requirements
| Recommended | Minimum | |
| Server OS: | Windows Server 2025 | Windows Server 2019 |
| Cores / vCores: | 4 | 2 |
| Memory: | 16 GB | 8 GB |
| Disk space: | 80 GB | 20 GB |
| SQL Version: | Microsoft SQL Server 2025 (any edition) | Microsoft SQL Server 2019 (any edition) |
Getting Ready
Please perform the following tasks before starting the install.
- Download the latest setup zip file from your account page.
- Have your System Frontier license key file ready.
- Create an empty database with the name SystemFrontierV2, or one of your choosing.
- Create a SQL login and grant it db_owner on the database.
Installation steps
- The database installation can be run from any computer that has network access to the database server.
- Extract the setup zip file.
- Run the setup-database.exe file.
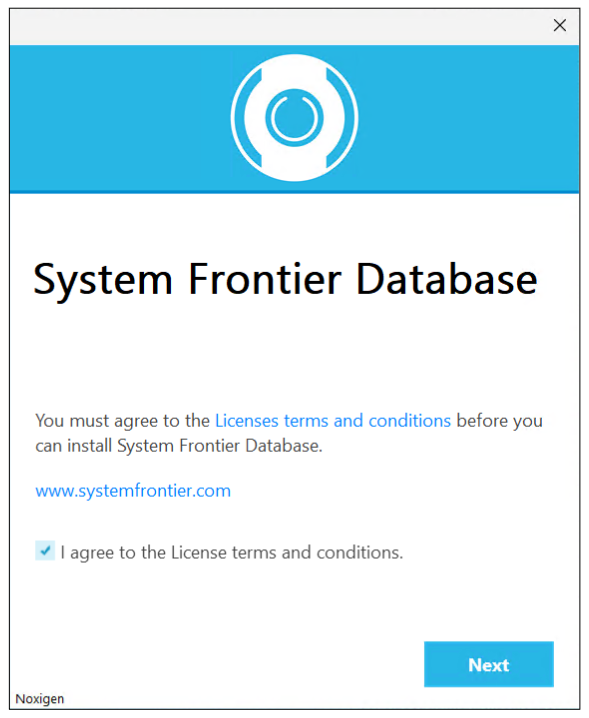
- Accept the license terms and conditions, then click Next.
- Provide the SQL server hostname in the Server textbox. If an instance name is needed, you’ll need to include that as well. Examples:
- Default instance: docs-dbs01
- Named instance: docs-dbs01\SQLExpress
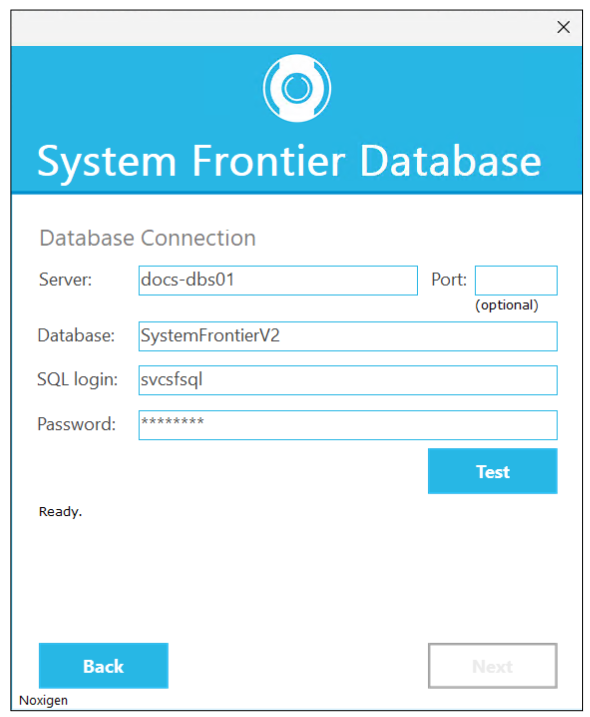
- Leave the Port textbox empty unless you are using a port other than 1433.
- In the Database textbox, provide the name of the System Frontier database. Example: SystemFrontierV2
- Provide the SQL login and password that were created and mapped to the SystemFrontierV2 database.
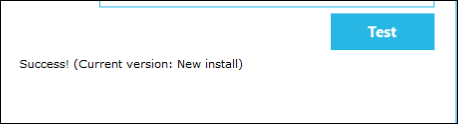
Note: System Frontier uses SQL authentication to connect to the database, so this will not be a domain or Windows login. - Click Test to verify the connection and credentials to the database.
- Once the test is successful, click Next.
- By default, the current user will be set up as the first administrator in System Frontier. If that should be someone else, please provide their domain\username instead.
Note: While this field does not accept a group name, you can add Active Directory groups to roles once the application is fully online.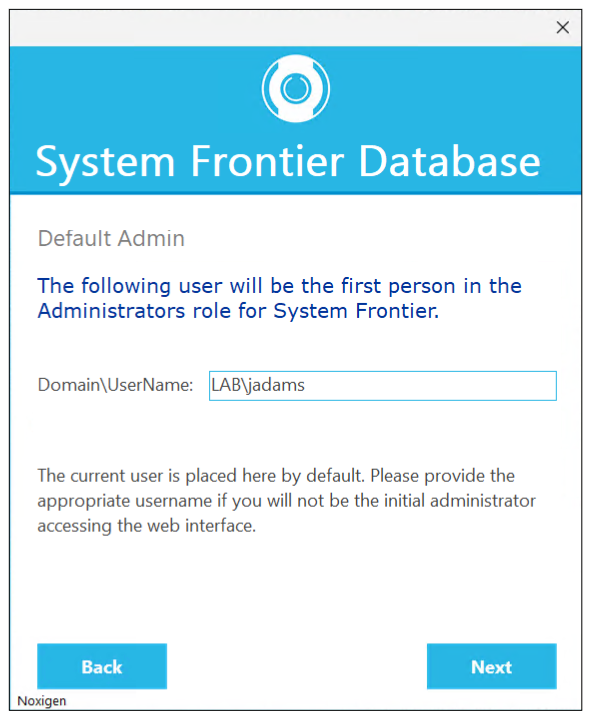
- Click Next.
- Click the button with three dots to browse and select your license file.
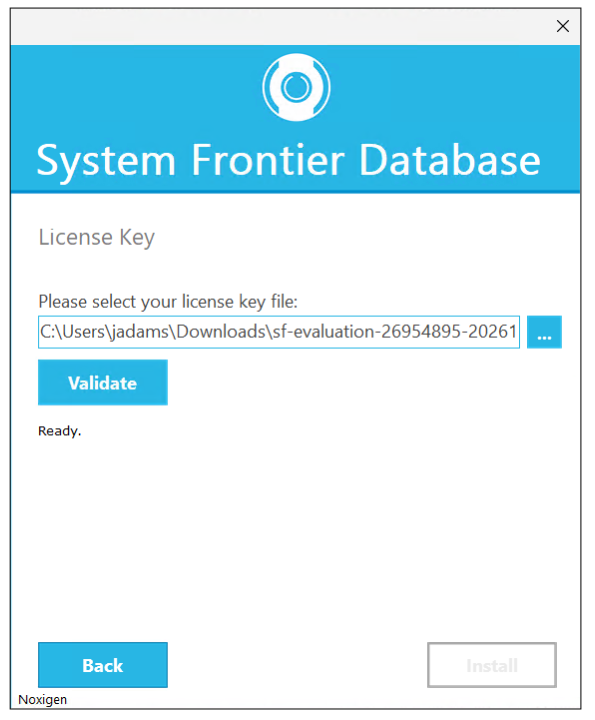
- Click Validate.
- Once your license file is validated, click Install.
- Once the install is successful, click Finish.

Next Steps
Once the database setup has been completed, you’ll want to install the execution host service, then web app.